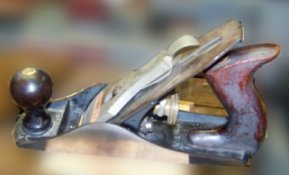
 A couple of weeks ago, I decided on a whim to refurbish a couple of the tools I inherited from my father-in-law: A Block Plane and a Stanley #4 hand plane. Both had really bad surface rust, and were REALLY cupped from years of heavy use. To give you an idea of what I dealt with before, I used that #4 on a scrap piece of pine stock
 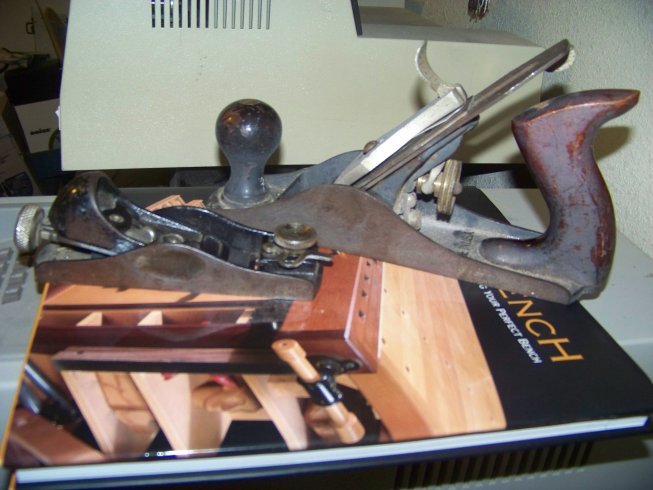 and got nothing but crooked, toothpick sized shavings with every pass, and small chunks of sawdust. I didn’t chronicle the restoration of the block plane (it was a spur of the moment thing), but have documented the restoration of the Stanley #4 pretty thoroughly.
Join me in this journey in the next couple of articles.
<rant>To tell you the truth, if these weren’t family heirlooms, I probably would have sold them and bought brand new Lie-Nielsen’s or something that was ready out of the box. When taking my time into account, it would have been hard to justify doing this to every plane I come across that needs work. The learning curve on the needed process wasn’t too bad, but this was incredibly time consuming. </rant>
Enough of that. On to the project! From doing some research, I made the following assumptions:
- The sole had to be flat (duh, right?)
- To reduce chatter, the area that the blade iron contacted needed to be as flat as possible. This part of the plane is an area known as “the frog”.
- The areas where the frog meets the plane have to be parallel and flat.
Having a membership over at Finewoodworking.com, I was able to find an article suggested by Matt Vanderlist, from Matt’s Basement Workshop titled “Handplane Tune-Up“. It pretty much confirmed the above, but also added the following:
- The chip breaker must rest flat against the blade iron to reduce binding.
- A relief cut should be milled into the throat of the sole to allow optimum chip clearing. This does not mean WIDEN the throat, but instead of the opening being 90 degrees to the bottom of the sole, the front edge would get a 15 degree angle filed into it, leaving more room for the chips to clear the throat.
Note: Feel free to click on any of the smaller pictures to enlarge them (they’re thumbnails to conserve bandwidth)
|
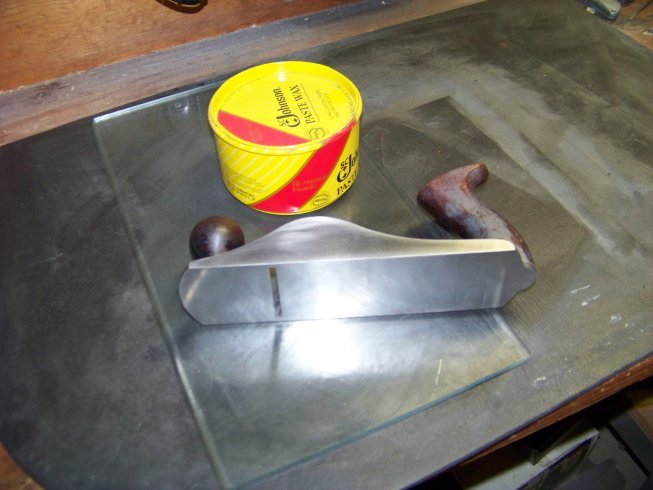
The first step in restoring the #4 was to flatten the sole. Here’s a picture of what it looked like next to the flat sole of the block plane. As you can see, there’s a good bit of surface rust on the sole. I’ve often heard a horse analogy that can be applied here: “Ridden hard and put away wet”. A coat of paste wax every now and again couldn’t have hurt. In this situation, there are a few options: Either take the plane to a machine shop and have them flatten the bottom using a milling machine, or sand it down against a dead flat surface, such as a piece of granite, or float glass. I, obviously, chose the latter of the two. |
 |
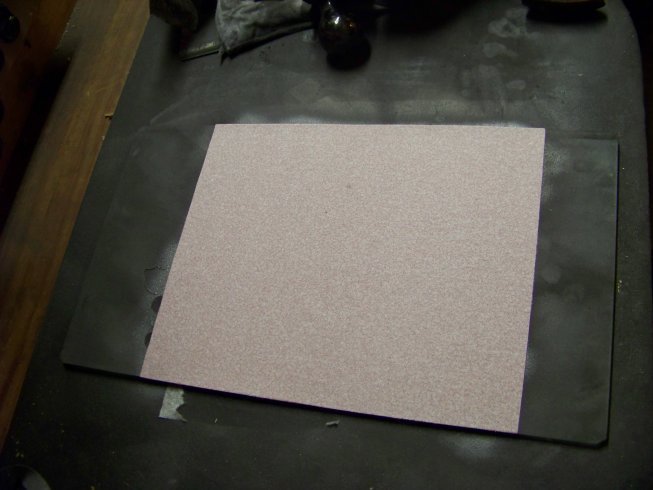 |
The first thing I did was to disassemble the plane down to the sole, leaving only the handles. I knocked the surface rust off of the bottom and sides using some 80 grit that was attached to an old, thick piece of copier glass (thanks to my friend Dan for hooking me up with this, another repurposed thing out of the landfill!) with a small homogeneous amount of 3M spray on adhesive. |
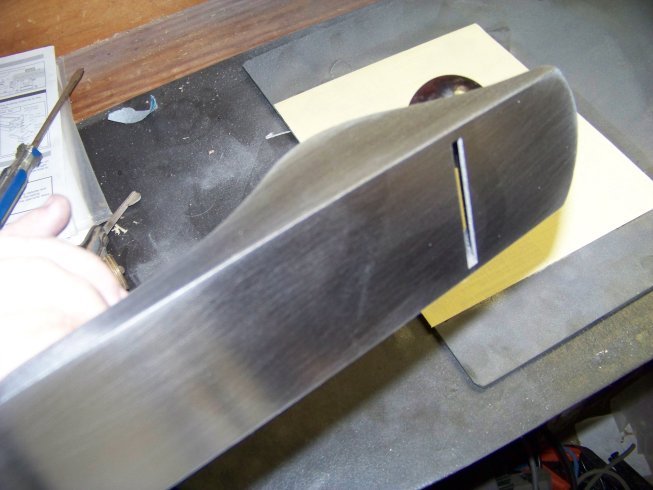
| After knocking the surface rust off, I scribed lines diagonally across the bottom of the sole with a Sharpie marker to give a good indication of how true and flat it was. | 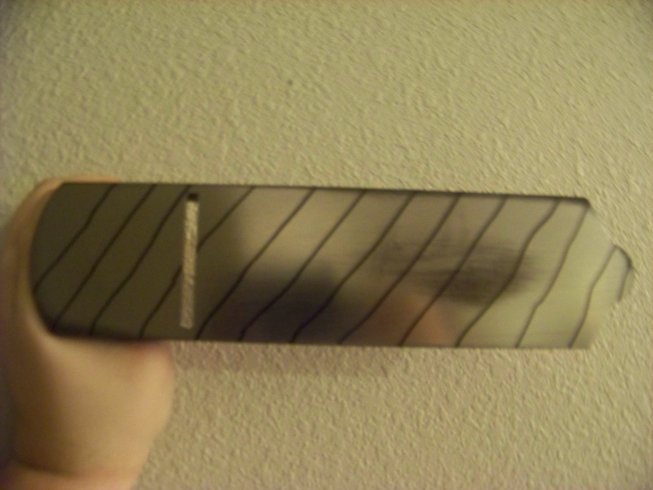 |
 |
Working on it for about an hour, and 2 sheets of 80 grit, I was still quite a ways from flat. |
| After about an hour longer with the 80 grit, I was left with a “true on 3 sides” plane. As you can see, 80 grit leaves real deep grooved scratches in the metal (again, duh). From here on out, we’ll step the grit down to sand out the scratches. In between grits, I just pulled the piece of paper off of the glass (the adhesive was still tacky but not hard), shot another thin layer of the spray on down, and secured my paper. | 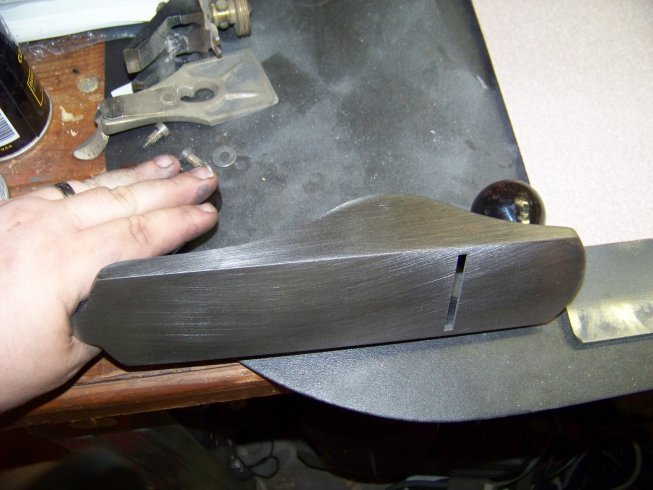 |
 |
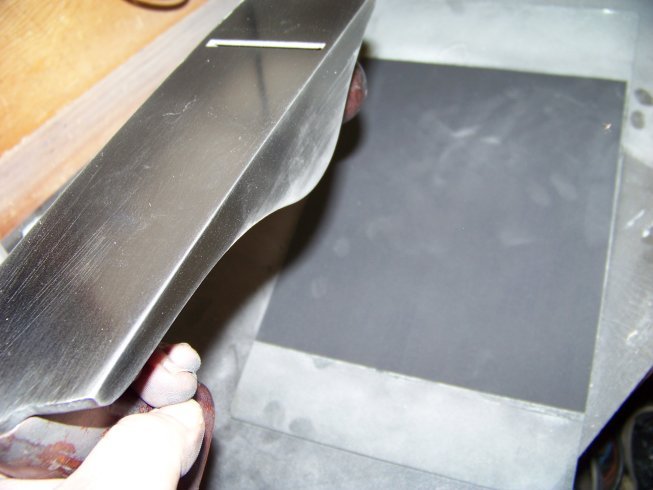
Next up is the 220 grit. Notice immediately that the metal is starting to develop a luster! |
| Now the 400 grit……… | 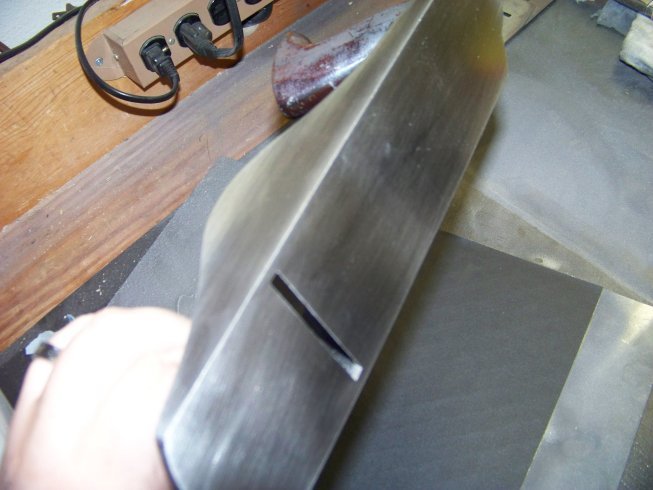 |
 |
I had some 600 grit laying around. Why not?! |
| And since we’re going this far, might as well wet sand it too….. | 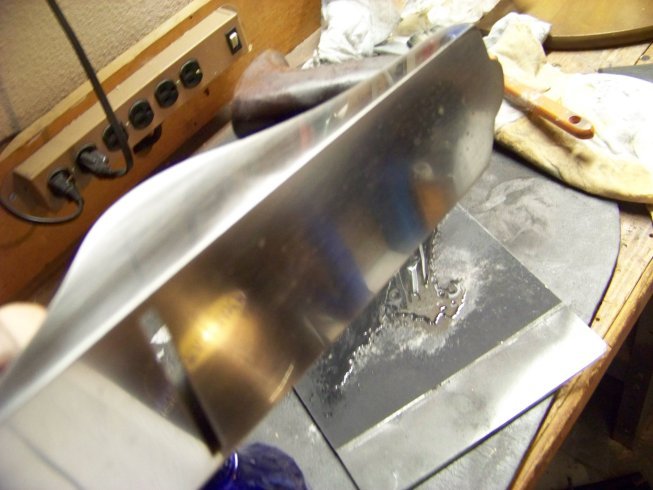 |
 |
And finally, to protect all of that freshly sanded metal, a good coat of paste wax. |
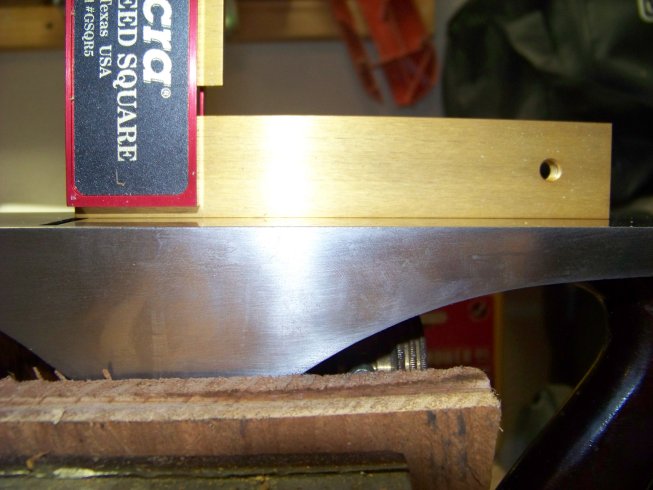
A lot of people seem to go overboard (that’s not to say that I didn’t take it a little too far as well, but I had the paper laying around) and use 1000 grit and 8000 grit wet stones to finish out the job. Why bother? It seems that it’s more of an asthetics issue than accuracy at that point (hope you like how your wood substrate puts those scratches right back into the metal, too). And if you want to argue accuracy, here’s proof positive we’re flat, as well as square to the sides using my shiney new “Guaranteed Accurate” (maximum deviation from nominal of less than 0.001″ at any point along the full length of the blade) Incra square:

I seriously doubt that any accuracy can be gained by polishing out any further (within my skill set anyway), and if you’re willing to whip out your electron microscope to prove me wrong, well, woodworking probably shouldn’t be a hobby of yours, stay away from me! 🙂
Keep in touch. Next time, we’ll discuss truing up the frog using somewhat of a similar method.
Related:
Refurbishing Old Hand Planes Part 2: Truing the Frog
Refurbishing Old Hand Planes Part 3: Modifying the throat and chip breaker.
Like another person who made earlier comments, I purchased the same hand plane on Ebay. I was fortunate to find your original posting and started flattening the sole this evening. Mine was not as bad as yours I guess, as It took be about 1 1/2 hours to get through the 80 grit (doing sole and both sides). What a difference already.
Prior to flattening the sole I had already put the plane to work and achieved pretty favorable results with quartersawn white oak. I can’t wait to see how things go when I’m done restoring this plane to some semblance of originality.
Tomorrow I’ll go to 150 grit and up through what I have on hand. Thanks very much for pointing me in the right direction.
Mike,
Thanks for letting me know your progress! I’m glad the articles were of use to you, and your comment lets me know I made the right decision porting the content over from the old website.
Thanks again! -Eric
[…] If your goal is to get your vintage plane in tip-top shape for whatever reason, a resource I like to point people towards is a series of articles a listener posted on his own website years ago. I think you’ll find everything you need to know right over there at http://www.baconfatlabs.com “Refurbishing old hand planes pt 1″. […]
I have two old Stanley wood planes, one is a small block plane and the other is medium sized Jack plane. Both have missing parts. I’m looking for a place that I could send them, to have missing parts replaced and the both of them refurbished (or re-conditioned).
Thank you for any help you can give me.